Disassemble the removable parts
Separate the base ring, cage, support components and other removable pieces according to the product design.
A simple routine for cleaning, drying, inspecting and storing your device so regular maintenance stays straightforward.
Everyday Maintenance
Chastity devices include surfaces, rings, joints and locking areas that can collect moisture and residue during normal use. A consistent cleaning routine helps keep these areas easier to inspect and maintain.
Low-profile designs may have fewer bulky surfaces than some traditional cages, but they still require routine care. Cleaning, complete drying and regular inspection should be treated as part of normal product maintenance.
Always follow the specific cleaning instructions supplied by the product manufacturer, especially when using disinfectants or cleaning products other than mild soap.
Step-by-Step
Keep the process simple and pay attention to the smaller areas where moisture or residue may remain.
Separate the base ring, cage, support components and other removable pieces according to the product design.
Use clean lukewarm water to remove visible residue before the main wash.
Use a mild, skin-friendly soap unless the manufacturer specifies a different cleaning method.
Remove all soap residue, especially around joints, openings and locking areas.
Allow every component to dry fully before reassembly or storage.
Review the Current Setup
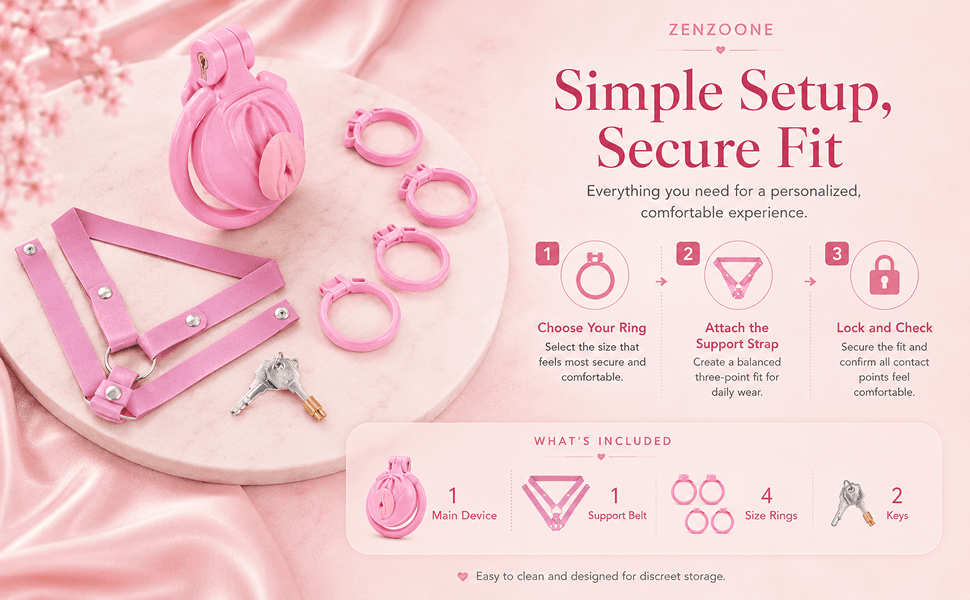
The current ZENZOONE configuration uses a lightweight, low-profile design with removable components and multiple ring options. Review current product details, pricing and availability directly on Amazon.
Pricing and availability may change on Amazon.
Drying & Storage
Separate components make it easier to check that enclosed surfaces and joints are no longer damp.
Check rings, connections, edges and locking areas while the device is disassembled.
Avoid storing damp components in closed containers where moisture can remain trapped.
Maintenance Mistakes
Using harsh cleaners without checking whether they are compatible with the material.
Reassembling or storing parts while they are still damp.
Ignoring seams, joints, ring connections and locking areas during cleaning.
Continuing to use components that show cracks, rough edges or other visible damage.
Assuming a low-profile design eliminates the need for regular hygiene.
Cleaning FAQ
Cleaning frequency depends on use, material and manufacturer guidance. Regular cleaning is important, especially after extended wear or whenever moisture or residue has accumulated.
A mild soap is commonly suitable for many washable materials, but always check the manufacturer's cleaning instructions before using soaps, disinfectants or other products.
Moisture left around joints, rings or enclosed areas can make storage less hygienic. Components should be fully dry before being reassembled or stored.
Removable components that contact the body or collect residue should be cleaned according to the manufacturer's instructions.
Inspect the product regularly. Components with cracks, sharp edges, deformation or damaged locking areas should be reassessed rather than continuing normal use.
Explore the Complete Setup
Compare sizing, design and maintenance considerations, then review the current ZENZOONE product configuration, pricing and availability directly on Amazon.
Current pricing, availability and retailer details are confirmed on Amazon.